Deploying the architecture
Part of the project consists in making tools to easily deploy a Kafka cluster, a Hadoop/Yarn cluster, and a Spark instance. The overall architecture is general/flexible and can run both on a local machine or a cluster of machines, without significant differences. It also allows to run the demo.
Overall the tools allow to deploy Kafka and Yarn/Hadoop clusters of arbitrary size, but while in the first case instances of Zookeeper and/or Kafka brokers can be both on multiple nodes, in the second case the setup is fixed to one "master" node (NameNode/ResourceManager) and the possibility of multiple instances only for "slave" nodes (DataNodes/NodeManagers).
This was tested both on AWS EC2 (t2 instances) mounting Ubuntu 18.04 LTS and on a single local machine (same OS). Focus is on these environments, but the changes needed to deploy this on other kinds of setup should be negligible (Docker images).
Some utilities that were used while developing and testing the project are not reported, to avoid unnecessary clutter (things like scripts to run SSH commands for multiple hosts).
The following sections describe procedures to deploy both on local environment and on cluster.
Docker setup
Installing Docker is essential for both cluster and local deployment.
Execute these commands on each node if using Ubuntu. If not working, refer to Docker documentation on how to install it.
sudo apt-get update
curl -fsSL https://download.docker.com/linux/ubuntu/gpg | sudo apt-key add -
sudo add-apt-repository "deb [arch=amd64] https://download.docker.com/linux/ubuntu $(lsb_release -cs) stable"
sudo apt-get update
sudo apt-get -y install docker-ce docker-ce-cli containerd.io
All next examples use sudo for Docker commands. This can be avoided by adding the user to docker group and logging out and in again:
sudo usermod -a -G ubuntu docker #ubuntu is the user here
Local deployment
A bridge network has to be created with the following command, in order to have containers be able to communicate through their name/hostname:
sudo docker network create -d bridge --attachable bridgenet
Every container has to be connected on this network (this is shown in the deployment section for each component).
Which IPs are associated with the logical names can be seen (once the containers are started) with:
sudo docker network inspect bridgenet
Cluster deployment
Using Docker Swarm allows for intercommunication of any kind between containers on different nodes (through Docker overlay networks). All that is needed from a network setup perspective is to open the ports needed for Docker Swarm on all nodes. Another benefit of using this is that container names can be used to point at each other (Docker offers an internal DNS for this).
Each machine in the Docker Swarm needs these ports to be reachable:
-
2376/tcp -
2377/tcp -
7946/tcp -
7946/udp -
4789/udp
See how to do it (for AWS) in port forwarding section.
On one node, that will be used as swarm "leader", run:
sudo docker swarm init
This will return a command to execute on other nodes, to make them join the swarm as "workers".
Execute the returned command on each node (but not the "leader" one), preceding it by sudo.
Here is an example (mock token):
sudo docker swarm join --token SWMTKN-1-3pu6hszjas19xyp7ghgosyx9k8atbfcr8p2is99znpy26u2lkl-7p73s1dx5in4tatdymyhg9hu2 192.168.99.121:2377
If the token is lost, another one can be given executing this command on "leader" node:
sudo docker swarm join-token worker
On the "leader" node an overlay network has to be created with the following command:
sudo docker network --create -d overlay --attachable swarmnet
Every container on each node has to be connected on this network (this is shown in deployment section for each component).
Running detached containers
There are multiple options when running a Docker container, in particular there is the possibility to run them in a "detached" fashion, allowing to close the shell (and the SSH session, if running on a remote node), without making the container stop.
This can be done with the -d option, e.g.:
sudo docker run --name mycontainer -d --net mynet username/myimage
Access to that container can then be done at any time with:
sudo docker exec -it mycontainer bash
This is useful for situations like the one of the proposed demo, where it would be hard to mantain an open shell for each container at the same time.
Kafka
The Docker image for deploying a Zookeeper/Kafka cluster is available at carmineds/zookafka (Docker hub).
To build the image (not needed), follow the image build section.
Run Kafka container(s)
Run the docker container on each node where a Kafka broker and/or a Zookeeper instance is wanted. Also refer to running detached containers section.
Components on the same cluster can connect to Kafka brokers on port 9093/tcp; connecting to a broker from outside can be done on port 9092/tcp (the network has to be properly configured).
Local deployment
Run:
sudo docker run -it -h kafka1 --name kafka1 --net bridgenet -d carmineds/zookafka
For other instances (optional), run on other shells the same command, changing container name and hostname, e.g.:
sudo docker run -it -h kafka2 --name kafka2 --net bridgenet -d carmineds/zookafka
Cluster deployment
Run on a node:
sudo docker run -it -h kafka1 --name kafka1 -p 9092:9092 -p 2881:2881 -p 3881:3881 -p 2181:2181 --net swarmnet -d carmineds/zookafka
For each other node where a Zookeeper and/or Kafka broker is wanted, run the command with a different container name/hostname, e.g.:
sudo docker run -it -h kafka2 --name kafka2 -p 9092:9092 -p 2881:2881 -p 3881:3881 -p 2181:2181 --net swarmnet -d carmineds/zookafka
With this command ports are exposed to the container host network interface, allowing client connection from outside the cluster (optional). In such case ports need to be exposed on host machine too (for AWS refer to port forwarding section).
Inside the container
Once the container(s) are started, follow the instructions printed on the console.

Testing deployment
Run on each node:
jps
This should print something like:
565 Jps
206 Kafka #only nodes designated for Kafka deployment
127 QuorumPeerMain #only nodes designated for Zookeeper deployment
Create a test topic:
kafka-topics.sh --bootstrap-server localhost:9093 --replication-factor 1 --partitions 1 --topic test --create
Populate the topic with some messages:
kafka-console-producer.sh --bootstrap-server localhost:9093 --topic test
Write something and press Enter, then close the process with Ctrl-C
Consume the topic:
kafka-console-consumer.sh --bootstrap-server localhost:9093 --topic test --from-beginning
This should show messages previously submitted to the producer.
To test a cluster deployment, try running producer and consumer processes on different nodes.
Hadoop
The ready to go image for deploying a Yarn/Hadoop cluster is available at carmineds/hadoop (Docker hub).
To build the image (not needed), follow the image build section.
Run Hadoop containers
Run the docker container on each node that is wanted to be part of the Yarn/Hadoop cluster. At least two running containers are needed (a "master" and a "slave"). Also refer to running detached containers section.
Naming
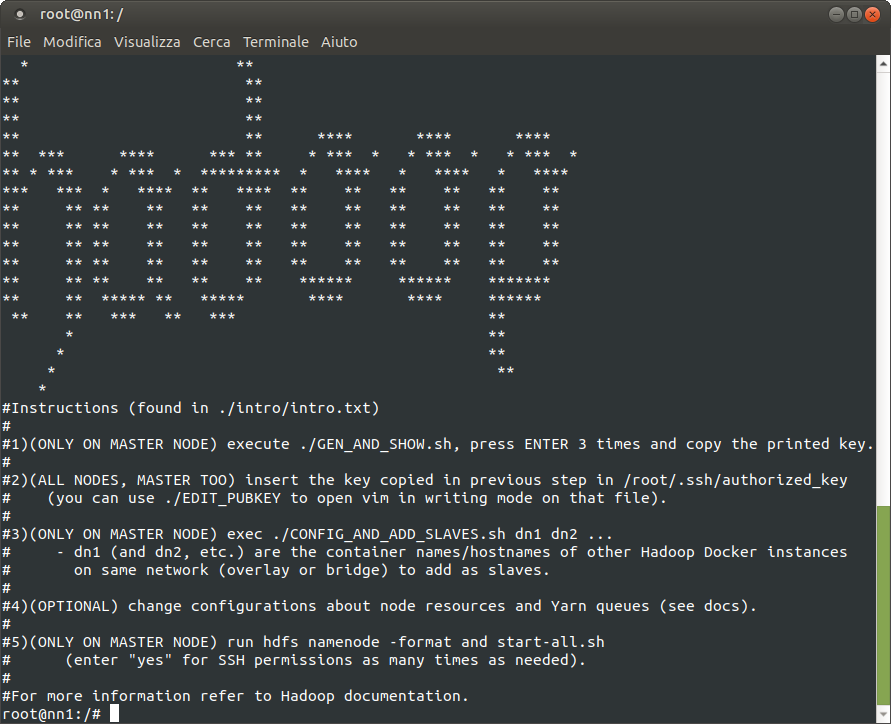
The container name and hostname of the "master" node have to be nn1 (needed by some scripts).
Ports that could be particularly useful to reach from outside are 8088/tcp for "master" node to access to the ResourceManager Web UI (Yarn) and 8042/tcp for NodeManager(s) Web UI (Yarn)
For more informations check Hadoop/Yarn documentation.
Local deployment
Run (e.g. 3 instances, 1 "master, 2 "slaves"):
sudo docker run -it -h nn1 --name nn1 --net bridgenet -d carmineds/hadoop #master node, name and hostname have to be nn1
sudo docker run -it -h dn1 --name dn1 --net bridgenet -d carmineds/hadoop #for slave nodes name and hostname have to be the same, but can be anything.
sudo docker run -it -h dn2 --name dn2 --net bridgenet -d carmineds/hadoop #another slave node
Cluster deployment
E.g. (1 "master", 2 "slaves", all on different machines).
On machine 1 ("master"):
sudo docker run -it -h nn1 --name nn1 -p 9000:9000 -p 8020:8020 -p 8030-8033:8030-8033 -p 8088:8088 -p 50070:50070 -p 50090:50090 -p 4444:22 -d --net swarmnet carmineds/hadoop
On machine 2 ("slave"):
sudo docker run -it -h dn1 --name dn1 -p 50075:50075 -p 50475:50475 -p 50020:50020 -p 50010:50010 -p 8042:8042 -p 4444:22 -d --net swarmnet carmineds/hadoop
On machine 3 ("slave", different container's name/hostname):
sudo docker run -it -h dn2 --name dn2 -p 50075:50075 -p 50475:50475 -p 50020:50020 -p 50010:50010 -p 8042:8042 -p 4444:22 -d --net swarmnet carmineds/hadoop
With these commands ports are exposed to the container's host network interface, allowing client connection from outside the cluster (optional). In such case, ports need to be exposed on host machine too (for AWS refer to port forwarding section).
Inside the container
Once the container(s) are started, follow the instructions printed on the console.
Configurations
-
Configurations about node resources (memory and CPU cores) can be changed in
/hadoop/etc/hadoop/yarn-site.xml. On "master" node there are theschedulerproperties, they set maximum amount of resources that a Yarn container can be assigned. On "slave" node(s)nodemanagerproperties set how much node resources are available to Yarn containers (good to have some memory and a CPU core left for other things going on the node). -
Configurations about queues (for parallel Yarn applications) can be changed in
/hadoop/etc/hadoop/capacity-scheduler.xmlon the "master" node. By default there are 3 queues (default, second, third) with corresponding resource propotions of 50%/25%/25% (ready for the demo). Get only default queue with 100% of resources by using the Hadoop distribution default configuration (saved as backup):cp /hadoop/etc/hadoop/capacity.bck /hadoop/etc/hadoop/capacity-scheduler.xml
For more information refer to Yarn/Hadoop documentation.
Testing deployment
Run on each node:
jps
Results should be something like this on "master" node:
410 SecondaryNameNode
204 NameNode
572 ResourceManager
863 Jps
and this on "slave" node(s):
180 NodeManager
60 DataNode
303 Jps
To test HDFS, create a mock file, and put it into the HDFS filesystem:
echo "hello world" > test.txt
hdfs dfs -put test.txt /
hdfs dfs -ls / #in the output list, test.txt should be present
Yarn can be tested after Spark deployment .
Spark
A docker image has been built for this too. It's simply a Spark distribution with configuration to connect to Yarn "master" node already included.
It can be found at carmineds/spark.
To build the image (not needed), follow the image build section.
Run Spark container
Refer to running detached containers section
Run:
sudo docker run -it -d -h spark --name spark --net swarmnet -p 4040-4045:4040-4045 -p 4444:22 carmineds/spark
4040 port (and next ones incrementally) are for Spark Web UI. If access to other services is needed, add ports in the command.
Remember network on the host machine has to be configured properly for external (to the cluster) access (for AWS refer to port forwarding section).
Testing Spark on Yarn/Hadoop
Previous deployment of Yarn/Hadoop is needed.
On nn1 (Hadoop/Yarn "master" node) create a simple text file and add it to HDFS:
echo "hello world" > test.txt
hdfs dfs -put test.txt /
hdfs dfs -ls / #in the output list, test.txt should be present
On Spark node open a PySpark interctive shell:
pyspark --master yarn
Once the shell is ready, run:
df = spark.read.text('/test.txt')
df.count()
Number of lines in the text file should be printed (one line, so 1).
Appendix: port forwarding (for cluster deployment only)
AWS allows incremental port forwarding with Security Groups, but in general similar results can be achieved on any cloud provider and also on on-premises clusters. A Security Group contains a set of ports to open towards a range of IPs. The security group can be applied to any EC2 machine (node). E.g. a Security Group can be made for ports needed for Docker Swarm (needed by each node in cluster deployment).
Other Security Groups can be made for any service we want to expose (e.g. ResourceManager Web UI).
It's important to have at least a Security Group that includes port 22/tcp (opened towards local machine), to access nodes via SSH.
Note
Containers can expose internal SSH port (22/tcp) with an alternative port (port 22/tcp is already bound on the container's host for SSH server), e.g. (mapping on port 4444):
sudo docker run ... -p 4444:22 -p 1234:1234 ... username/myimage
Hadoop and Kafka images in this project provide a running SSH server by default.
Appendix: how to build docker images
Looking into the Dockerfile for the image to be built, some tar.gz packages (or similar) are used. As they are heavy files, they've been omitted from the project files.
Download them from their websites and put them in the same directory as Dockerfile.
To build the image run (from that same directory) :
sudo docker build -t username/myimage .
For local deployment, this is enough to then run username/myimage image how many times as it is needed.
For cluster deployment doing this for each node can be avoided by uploading the image to Docker Hub, or to some other kind of Docker registry.